Com100 found that chatbot interactions have an 87.58% satisfaction rate as compared to human chat conversations.
From this study, we understand that the present digital age customers prefer quick solutions and are comfortable adapting to AI services for the same. The question is, do you have a chatbot integrated with your website? If your answer is “No”, then this article will help you to create a Zendesk Chatbot using IBM Watson Assistant.
Before guiding you through the bot-building process, we would like to quickly brief you on what Zendesk Chatbot and Watson Assistant are.
What is Zendesk Chatbot?
Zendesk Chatbot powered by Zendesk is a live chat software that helps you connect with your customers on your website, mobile application, or social platforms. The software unifies all the conversations centrally so that your agents need not toggle between windows for any customer data.
You can provide 24/7 support to your customers using built-in automation. It is totally customizable enabling you to design solution-rich data to empower customer self-help services. This article exactly aims at helping you with building a Zendesk AI Chatbot.
What is Watson Assistant?
Watson Assistant is IBM’s conversational AI platform or a chatbot. With this, you can handle complex customer needs apart from simple FAQs or links to help articles. You will never let go of your customers with inefficient broken chatbot answers like “I didn’t quite catch that. Can you try rephrasing?” Let’s see how.
It is important to plan achievable chatbot goals and so you should start small and launch fast. Later on, you can make necessary ongoing improvements depending on the chatbot performance analytics.
A step-by-step guide to building a Zendesk chatbot using IBM Watson Assistant
Basically, Watson Assistant builds based on experiences tailored to the people who directly interact with customers daily. It’s easy to get started with a pre-installed sample customer service bot. Also, they keep improving the Assistant with the latest updates that are automatically synced with the existing ones.
We will now take you through creating a fully-built new chatbot assistant in 30 minutes or less.
Please note down the prerequisite before you start building your chatbot.
- Zendesk chat account (Zendesk Chat Enterprise plan is required)
- Sign up with IBM
- Decide whether you want to enable security in Zendesk. If yes, then you must collect the name and email address of every user. This information should be transferred to the web chat so that it is available on Zendesk conversion.
In the first place, you need to integrate Zendesk with the IBM Watson Assistant. This can be achieved in 3 simple steps given below.
- Create a web chat integration. This can be done easily by embedding a web widget onto your website using the simple copy-paste Javascript code available on the IBM Watson Assistant. Does not require any developer knowledge.
- From the web chat integration page in Watson Assistant, set the Allow transfers to live agents, switch to On, and then choose Zendesk as the service desk type, and then click Set up.
- Add the account key for your Zendesk account to configure it. For this, open your Zendesk account in a separate tab. Login and click on your profile icon and select “Check connection”.
- Copy the account key and paste it into the Watson Assistant Zendesk account key box and click on “Access Account”. Done. You have successfully integrated Zendesk with Watson Assistant.
With that, we have set up the Zendesk and Watson Assistant connection.
Moving on to building the chatbot
First, you need to know that actions and steps are the only two basic things required to build an AI-powered virtual agent. An action is a problem or a task that your customer wants to resolve. For example, “I want to check my order status”.
Steps are the conversations between your assistant and your customer. In other words, steps represent the clarification questions, final answers, or human agent handoff points in the action.
#1 When you first launch to create your new assistant, it will ask you to give it a name. Enter the field with the domain of topics you want it to handle. Like in the above example, the bot will handle post-purchase support-related queries, so you can name it “customer support assistant”.

#2 From here, you’ll start on the homepage of your brand-new assistant. Each section on the home page is organized with progress bars to see what you have done and how far you have to go.

Also, in the top right corner of your home screen, you will find the Learning center. Click to expand and open the menu items to find tours, shortcuts to useful content, and more to help you understand better.
#3 Now, it is time to build your first conversation.
Please note, since the bot building involves “actions and steps”, we are using “Flow#” instead of “Step#” and “Fig#” for all the images, to avoid confusion.
Flow# 1: Start by creating your first action. You will be prompted to create your first action from scratch or from a built-in customer-ready template. Click on the “Create a new action” button

Flow# 2: Next, you need to “train” your assistant’s topic-recognition AI by giving it some example sentences. Something like: “I want to pay my cable bill please”.

Flow# 3: Now it’s time to create the first step in the interaction. We will always start with the clarification question around the customer’s question. So create one and add the same in the Assistant says text box.

Flow# 4: Then, select the type of customer response the assistant should wait for. It is always better to give options to choose from and click on Apply to save your changes.
Flow# 5: Preview your action to make sure it works. To do this, hit the Preview button in the bottom right corner of your screen.

With your first step created and tested, you can finish this action by creating a few more steps. To create step 2, click on the New step (refer to Fig# 5) button and continue.
Flow# 6: If you need to tell the assistant to look for a number/date, etc in response, then click on the Response dropdown list to pick the appropriate value.

Similarly, you can add with/without conditions and other variables in the respective boxes.
Further, you need to create an agent handoff step. To do this, add step 3 below step 2 and add some text related to getting the user to an agent as “Let me get you an agent who can help you with that”.
Flow# 7: To set up the assistant to route this conversation to a human agent, change the And then setting to Connect to Agent.

Flow# 8: In the prompt that comes up, you should insert the context that you gathered for the human agent to review, starting with a $ symbol.

Flow# 9: And to add a link to the text, highlight the text you want to use and then click the link icon.

Flow# 10: Lastly, make sure the action ends after all the required steps are set. To do that, change the And then setting to End the action.
Flow# 11: Test to see how your assistant would work on one of your channels, head to the preview page, and run the inline preview. This can also be shared with others on your team quickly with a shareable URL for multiple testing.

Thus the embeddable web chat integration is included on your website successfully. Furthermore, you can refine your assistant with more personalizations, fallback actions, additional conditions, etc depending on your topic requirements.
Conclusion
Coming to the end of the article, we are confident that this step-by-step Zendesk Chatbot building guide will be useful to you while you are creating one.
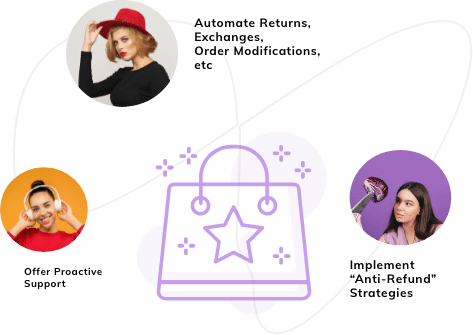
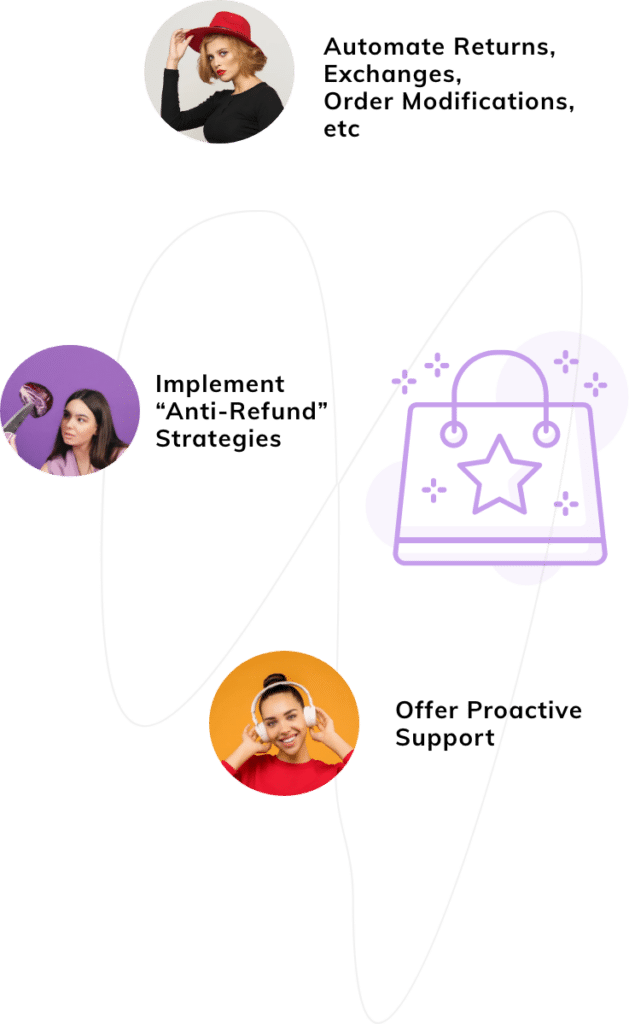
However, if you still feel this is complicated, then we recommend you check out the Saufter Chat Bot. It is easy to set up as it works on data-driven AI technology that understands your workflows.
Also, this serves as an exclusive eCommerce chatbot software helping you with automated customer support, returns/exchanges, and upsell solutions. The real-time data analytics aid you in improving your overall customer support to the next level.