One of the key aspects of a customer support system is to reply to user requests quickly and with helpful answers.
When your agents are available, they obviously respond. But what happens when your agents are busy? Or When a user wants to access your support system on holidays or when there is no one in the support center?
That is when you can use the Zendesk out of office or automated responses. Learn the following details about Zendesk Auto responses from this page.
- Benefits Of Zendesk Automated Response System
- Steps To Generate Zendesk Out Of Office Responses
- Why Zendesk Is Not Best For Automated Responses
- Meet Saufter, The Best Zendesk Alternative
Also, read How to merge tickets in Zendesk.
Benefits Of Zendesk Automated Responses
1) Improved Customer Experience
When your agents respond to your users, there is a chance that they might use misspelled words sometimes. Make certain errors that might not make your customer feel like they are getting a professional service.
But with Zendesk automated response, as long as the template is prepared well, you can respond to your users without any errors.
By sending personalized messages, you can overall improve your customer experience.
2) 24/7 Customer Support
Users can reach out to you any time of the day, month, and year. So, you need to make sure that the agents are available to respond to them.
But it is difficult to provide 24/7 customer support for many reasons. For instance, there may be few employees as most of them are on leave or your staff might be busy dealing with other issues.
However, if you build an auto-response system, it can reply to your users anytime. And ensure your users that the message is received and your team is working towards solving the problem.
3) Reduction in Cost
Employing agents to maintain a 24/7 support system costs a lot of money. Because you need to have many agents so they can interact with users even on holidays and weekends. But you may not need as many agents on normal weekdays.
So, for days when your agents are not available, instead of hiring more employees you may use Zendesk out-of-office responses.
4) Reduce Workload
Sometimes your support center may get too many requests to handle. So, instead of pressuring your agents to respond quickly, you can use the Zendesk auto responses.
You can set them to suggest relevant knowledge base articles or direct them to the FAQ page.
5) Alternative to Chatbots
You may think that one can always hire chatbots. But chatbots are expensive as they require AI. The Zendesk automated responses may not converse with your customers but they will definitely assure them that your services are on the way.
Also, read How to add ticket types to Zendesk.
Steps To Generate Zendesk Out Of Office Responses
In Zendesk, you use triggers to create automated responses for chat messaging and even for social channels. Now, let’s see the easy steps to create them.
Steps To Create Zendesk Chat Trigger
- From your Chat dashboard, select Settings and go to Triggers.
- Next, click on Add trigger option.
- Now, click on Enabled in the Ticket status.
- Then, enter the name of your trigger and a brief description of it in their respective fields.
- If you want the trigger to activate only once per user, then check the Fire only once per visitor option. If you uncheck it, the trigger will get activated every time the user meets the conditions.
- Now, you can customize the trigger.
- In Run trigger, as per your requirement select any one of the following options displayed in the drop-down list.
- When a visitor has loaded the chat widget
- When a visitor requests a chat
- When a chat message is sent
- In Check Conditions, choose the appropriate one from the available list.
- Check all of the following conditions
- Check any of the following conditions
- Under Perform the following actions, select appropriate actions. To add a placeholder or an agent you can type @.
- Finally, click on Create triggers button.
Example Chat Triggers
1) Trigger For Product’s Pricing Page
In this example image, you can see that a trigger is created to send a message to every user visiting the product’s pricing page.

2) Auto-reply Trigger
When the queue is large if the customer is requesting a chat you can send auto-reply by using the following trigger.

Steps To Create Zendesk Out-of-office Response For Messaging
Basically, the way you work with Zendesk chat triggers remains the same when you move to the messaging. However, you can see a few changes in the Custom trigger section.
- From your Chat dashboard, navigate to Settings > Triggers and click on Add trigger.
- Next, click on Enabled in Ticket status and enter the name and description of the trigger.
- Under Customize trigger, select the appropriate options.

- In Channel, you can select either one of the following options.
- Chat
- Messaging
- Chat and messaging.
- Next, in Run trigger when Messaging or Chat and messaging is picked, it displays the following options. You can select anyone.
- A visitor requests a chat
- A visitor sends a chat message
- In Check conditions, choose any one of these options.
- Check all of the following conditions
- Check any of the following conditions
- Pick appropriate action in the Perform the following actions.
- At last, click on Create Trigger button.
Note: For Chat, trigger options remain the same. But when Messaging or Chat and Messaging is selected, trigger options change.
Example Messaging Trigger
It runs when a user requests a chat for an offline account in the widget or mobile SDK.
- Under Customize Trigger do as follows:
- Channel: Messaging
- Run trigger: When a visitor requests a chat
- Check conditions: Check all of the following conditions
- Account status > equals > Offline
- Perform the following actions:
- Send message to visitor > Responder > [message text]
Steps To Send Zendesk Auto Response To Social Messages
If you add any social messaging channels like Facebook Messenger, WhatsApp, LINE, Twitter DM, etc., you have to create a Zendesk auto responder for each account.
The auto-responder replies when a user sends you a message. On that note, let’s set up a Zendesk auto-responder.
- In the Admin Center, you can see a Channels icon () in the sidebar. Click on it and select Messaging and social > Messaging.
- When you open a channel for editing, the Edit screen appears.
- Next, go to the Auto-responder tab and click on Activate auto-responder to enable it.

- Edit the default text in the Auto-responder message box.
- Finally, click on Apply changes.
Note: You have to be an admin to set up an auto-responder.
Adding User Properties
Know that you can add user properties to the auto-responder.
For example, if you add the following text –
Hi, {{firstName}}, Thanks for reaching out. Our agent will be with you soon.
When a user Peter Parker messages, it replies in the following way.
Hi Peter, Thanks for reaching out. Our agent will be with you soon.
Also, read How to maximize your knowledge base with Zendesk.
Why Zendesk Is Not Best For Automated Responses
1) No Order For Triggers
In Zendesk you cannot execute multiple triggers in a particular order because they are evaluated and executed simultaneously.
In case you really want to do it, then in between each trigger, you need to add at least 1 second of wait time.
2) Need To Create Triggers For Each Account
For social channels, there is no option to apply the same trigger to all accounts. You should set up auto-responders separately for each of your social messenger accounts. Moreover, you can do this only once for every channel.
Also, there is no support for dynamic content in auto-responders.
3) Trigger Do No Work
The chat triggers do not work when your agents are online. It only gets activated when your staff is offline. That means you have to set the availability status of your employees to Invisible. Only then do the triggers activate and send automated responses.
4) Limited Customization
As you can see from the easy steps section, you have to set conditions for running triggers from the drop-down list only. In case, the condition you need is not on the list, you cannot configure trigger actions and fulfill your needs.
User Reviews
- Anonymous user, an Administrator in Professional Training & Coaching says –
“Another issue was that automated responses were being triggered but there was no trigger to understand why they were getting a default notice and then also the one that I created as well. Empty notifications were being sent out with no additional information.”
- Anonymous user, Administrator in Computer Software states –
”Maybe I can say that there are many auto-reply emails sent from the platform to the end-users.”
- Anonymous user, User in Consumer Services says –
“Even though the software is amazing but it still have downsides with recorded response which sometimes is irritating and could ruin the customer experience”
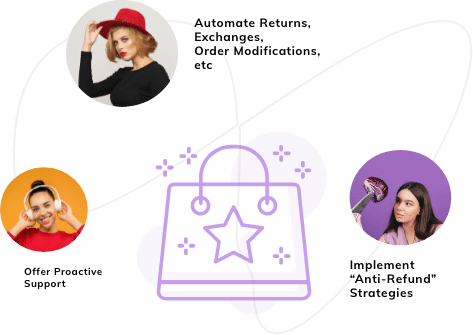
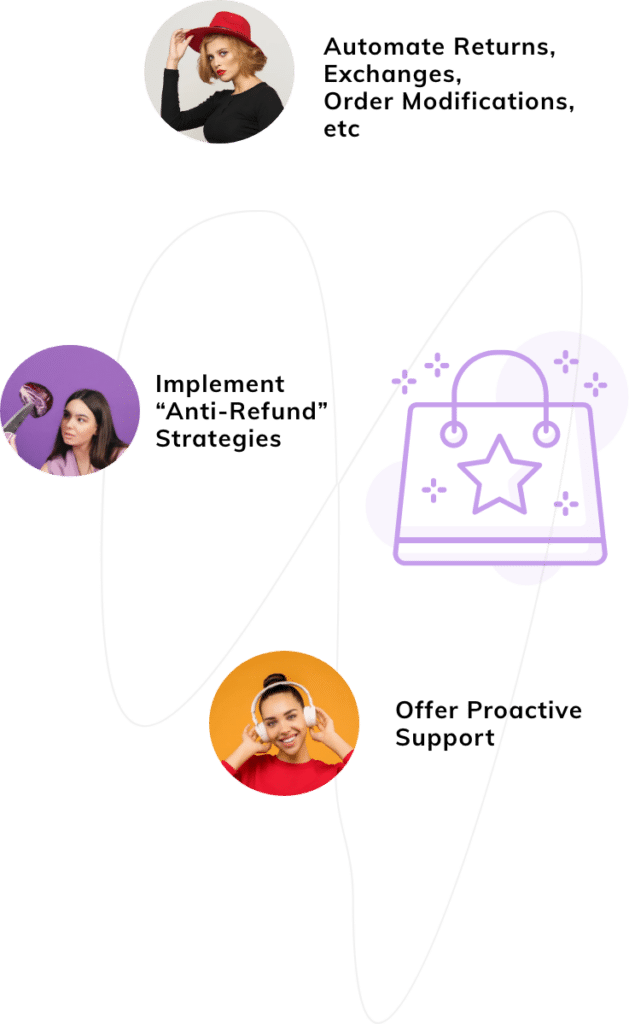
Meet Saufter, The Best Zendesk Alternative
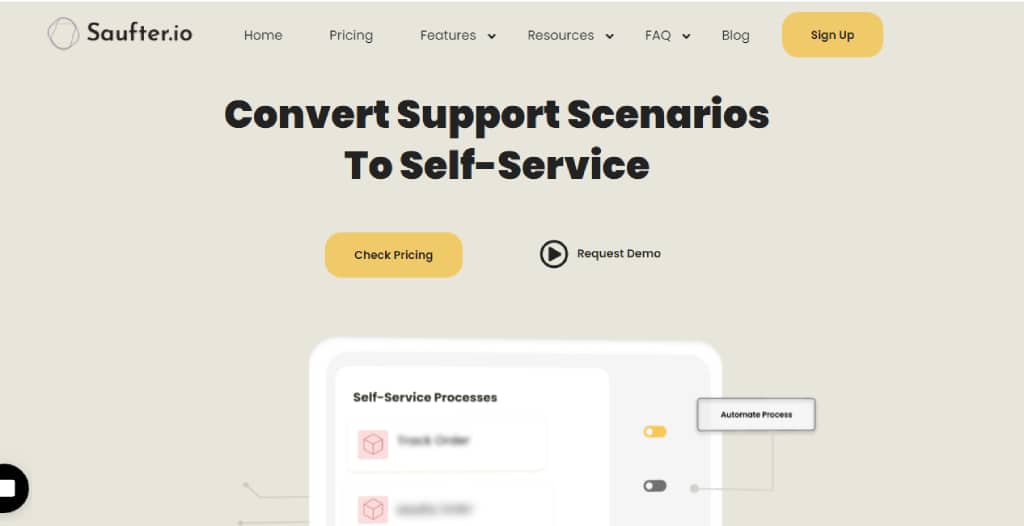
As you can see there are limitations to what Zendesk offers. With Saufter, you don’t have to worry about ruining the customer experience with restricted trigger capabilities.
In fact, Saufter is an all-around service desk software that offers all the features you need to provide the best customer support.
They have an automated self-service center and a 24/7 monitoring system that proactively detects any issues with service delivery.
Not only that, they have
- Self-help,
- Basic client support services like
- Live chat,
- SMS,
- Email,
- Phone.
- Social media, eCommerce, and other integrations,
- Automated marketing, and many more.
Wrapping Up!
Hope this article helps you in generating Zendesk out of office responses for your support system. Even though it is easy to set up Zendesk auto-responses have many limitations that might become a drag and ruin your user experience.
So, use Saufter services that enhance your customer experience and scale up your business.