Are you a Zendesk user looking for ways to change/customize your signature on Zendesk? If yes, read this comprehensive guide inclusive of easy steps to customize Zendesk signature. You will also read about its benefits, limitations, and other related information as listed below.
Table of contents: |
What is a Zendesk Signature?
Zendesk allows you to add personalized signatures to the outgoing emails for consistent branding and messaging purposes. You can customize these signatures by adding relevant text, links, images, and social media icons.
Also, create custom signatures to be automatically added to the tickets responses subject to the set conditions like the below ones.
Examples of Usage
- Ticket type routing: Different phone numbers in the signature should be routed to the respective teams depending on the type of the ticket.
- VIP emails: Make phone numbers visible in the signatures (only for VIP customers).
- Email in signature: If the client’s total business revenue is higher than $5000, then share personal email. Otherwise, mention the regular support email in the signature.
- Weekend signature: If you are communicating with your client on Friday, then include weekend wishes in the signature. For other weekdays, it is not necessary.
- URL in signature: In case your customer had subscribed to your newsletter, then add the required URL to the signature.
That was all about Zendesk signature. Time to discuss why you need it.
Benefits of Adding Signature on Zendesk
Certainly, there are some benefits to adding a Zendesk email signature to your customer conversations. And they are as follows.
- Personalization – Gives you the possibility to add your preferable information like site links, phone numbers, logos, etc., for branding & marketing purposes.
- Saves time – Automated signatures save plenty of manual time avoiding you typing in the information every time.
- Consistency – Helps in maintaining the same look and feel of your brand in every communication.
Without further ado, let us start with the step-by-step guide to customize your Zendesk email signature. We will also be covering the steps to customize the Zendesk agent signature additionally so that you can choose whichever suits your requirement.
How to Customize Zendesk Email Signature?
For this, you need Zendesk Sell integration. It gives you the control to personalize and customize your outgoing email signatures. There are two methods using which you can customize these signatures.
Here we will explain both the methods with easy steps and you can choose whichever meets your needs.
1) Seven Easy Steps to Customize Zendesk Email Signature: Simple Method
Using this simple method, you can only add simple texts like tag lines or links. Adding images or two-column layouts, etc., is not feasible with this method. Let’s begin the steps now.
To Insert Simple Text/Link Into Your Signature
Step 1: Open account page
Login to your Zendesk Sell account.
Step 2: Choose settings
Select the settings gear from the sidebar.
Step 3: Email settings
Go to Communication channels and choose Email.
Step 4: Set simple signature
Look out for Simple signature on the Signature tab and click it.

Step 5: Enter signature
Now enter your signature in the Email signature field.
Step 6: Mention preferences
In this step, you can add your preferences to the signature using the format toolbar. Like formatting text, adding links, or logos. For example, if you want to insert your company logo into your signature, you can do so by entering the image’s URL from your website.
To make your work easy, we are providing those steps also here.
To Insert Logo Image Link Into Your Signature
This can be done in two ways.
Number 1: Copy image address
Either, go to your website > right-click on the logo > and choose Copy image address.
Number 2: Pick image address from Calendar accounts page
Or copy the image address from the Calendar Accounts page. To do this,
- Open Settings again, click on Integrations, and then Calendars.
Copy the image link by right-clicking on the Invitation email logo on the Calendar Accounts page.
Now return back to the Step 6 > Format toolbar. Click on the image icon and paste the image URL in the box and hit Insert.
Step 7: Save your settings
Finally hit Save to save your personalized Zendesk signature.
[Back to the table of contents]
2) Four Easy Steps to Customize Zendesk Email Signature: HTML Method
With the HTML method, you can add smiley icons, brand colors, etc., as you like to your signatures by following the below steps.
Step 1: Visit account settings page
Once again login to your Zendesk Sell account and open the Settings page.
Step 2: Change email settings
Route to the Simple signature tab through Email under settings > Communication channels.
Step 3: Set HTML
Now choose HTML.

Step 4: Paste HTML code
In the Email signature field, paste the HTML code and push Save.
By following these simple steps, you can add customized Zendesk signatures. At any time after using HTML coded signature, if you wish to switch to the simple signature, do the below steps.
To Switch Back to Simple Signature
Step 1: Go back to Zendesk account settings page
Just like earlier, go to the Settings page under the Zendesk Sell account.
Step 2: Switch to simple signature
Under the Simple signature section, you will find Switch to simple signature. Click on it and a dialog box opens.
Step 3: HTML delete confirmation
It shows you a notification that your HTML code will be deleted. Press the Switch signature button and done.

With that, we are done with the Zendesk email signature customization steps.
[Back to the table of contents]
How to Customize Zendesk Agent Signature?
Embedding the video tutorial for the same here. Nevertheless, providing you the step-by-step instructions too after that.
Now, follow these six easy steps to customize the Zendesk agent signature.
Six Easy Steps to Customize Zendesk Agent Signature
Step 1: Be on your user profile
As an agent, click on the user profile.

Step 2: Find signature field
After your profile page opens, look on the left sidebar. You will find the signature field.

Step 3: Type your signature
You simply type your signature text in the box and it will be auto-saved. After which, if you send any email to your customer, you will find your saved signature automatically updated on submit.

Step 4: Add link
To add a link or an image to your signature, you need to use the markdown formatting as shown in the below image.

Step 5: Give hyperlink display text
Copy the link format and paste it into the Signature box of your agent profile page. Modify the hyperlink display text and done. Check the below image for reference.

And when your agent sends a message, the signature appears with the link, like in the below image.

Step 6: Include image link
In order to add an image link, follow the below-mentioned markdown formatting code. You can copy this one too from the above-given markdown link in step 4.

The above format shows the image name followed by its URL and if you wish to make the image clickable so as to take the customer to a landing page, then include the last ‘linkurl’.
For example, if you want to include your company logo that is also clickable, then follow the steps given in the “To Insert Logo Image Link Into Your Signature” paragraph above. Attaching a sample image here with the output message for your reference.

Thus, you or your agent can easily enable automated signatures on Zendesk using these simple steps. Moving on to the next section of Zendesk signature setbacks.
[Back to the table of contents]
Why Zendesk is Not The Best for Signature Customization?
Here we will find out what Zendesk lacks in its signature-related features and why users are unhappy about it.
1) Requires Integration
Firstly, Zendesk Sell is necessary to enable using a signature on Zendesk. Without this, you cannot add personalized signatures to your customer email communications.
2) Customization Limitations
As we discussed above, there are only two methods available using which you can possibly include very minimal information. Plus, your agent signature does not show up in email responses. Only you as an administrator or an administrator assignee can add a common signature to all the emails.
Read the reviews below to find users complaining that they are not able to create proper signatures with their company names.
3) No Support
Users are largely complaining that they are not getting proper onboarding support from the company. Neither they get proper assistance during the integration process. Also, their highest concern is that the Zendesk teams are incompetitive in this matter.
4) Highly Priced
In order to use the signature feature, you need to subscribe to any of the Zendesk Sell plans in addition to the Zendesk support plan. That means, basically, you are paying double the price for this feature.
Limitations of Zendesk Signature (User Reviews)
“Very little things: the fact that you can’t personalize a lot the email signature (for example with images) the fact people are confused about how to reply, because of the instruction to write above the line: that’s kinda confusing for them.” – Customer Care Manager, small business.
“Cost more while providing less than the competitors. They don’t even use their own product correctly– I have received emails showing one name in the “From” line and a totally different name in the signature.” – Danielle, Computer Software.
“I am unable to create the sign off signature and I have to type one everytime I am responding to an email.” – Elizabeth Michelle, Education industry.
“Can’t create a proper nice company signature like you’d have on gmail for example. The is no designated account manager for Support suite – can feel a bit lost especially during set-up.” – a verified user, IT & Services, small business.
“Signature for email. Shockingly, this has been a pain to set up. There should be an integration method upon getting the platform set up. The marketing team didn’t know how to help us which seems odd.” – Annie C, Defence and Space.
Is there any solution to these issues? Yes, we are giving you the best Zendesk alternative up ahead. Keep reading to know about it.
Also read: 9 Best Zendesk Support Suite Alternatives You Need To Know!
Meet Saufter, The Best Zendesk Alternative!
Both Zendesk and Saufter provide helpdesk tools for your eCommerce customer support. Yet, we would say Saufter has an edge over Zendesk as it offers some unique eCommerce tools for a pretty competitive pricing. Let’s see what are the prominent features of this software.
Key Features of Saufter
- Ticketing system: Unified dashboard which organizes all the multi-channel support tickets and customer context in one place, for your agents’ knowledge.
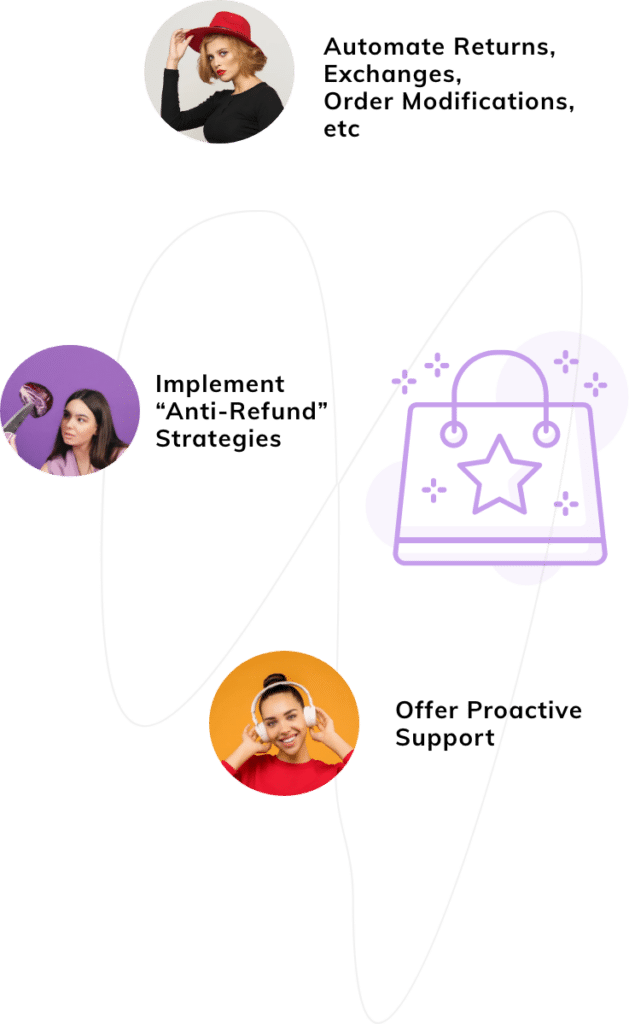
- Automated eCommerce Workflows: Auto-responds to your web-chat conversations promptly. Shares appropriate deals/discounts in place of returns requests, automatically.
- Integrations: Saufter software comes with various native collaborations like Shopify, email, live chat, social media platforms, etc. Can connect with eligible third-party softwares too seamlessly, in a few easy clicks.
- Customer Self-service Portal: Hosts an in-built branded returns portal where your customer can initiate returns/exchanges/order modifications and print labels by themselves. A fully customizable Knowledge Base helps you enhance your customers’ self-help experience.
- Proactive Support: Unlike any other helpdesk software, Saufter scans all your orders every day and prompts you in case of any shipping issues. Using this info, you can assist your customers proactively.
- Marketing Automation: Yet another unique feature that auto-collects all your positive user reviews for you to showcase as social proof.
- Team Empowerment: Train and test your support agents’ efficiency using this software in auto-pilot mode. You can also hire experienced support professionals from their marketplace.
- Analytics & Reports: Measure all your helpdesk metrics performance on a real-time dashboard.
Also read: Zendesk vs Saufter Comparison: Is There a Clear Winner?
Final Words!
Now you know how to change the signature in Zendesk using the Zendesk Sell method and agent profile method. Also, mentioned the signature limitations of Zendesk along with certain difficulties users personally faced.
Hence, we gave you the best Zendesk alternative, Saufter to elevate your eCommerce support services to top-notch. Our recommendation is you try the software with your business model to test its results in real-time.
Start your 15-day free trial now without giving any credit card information.